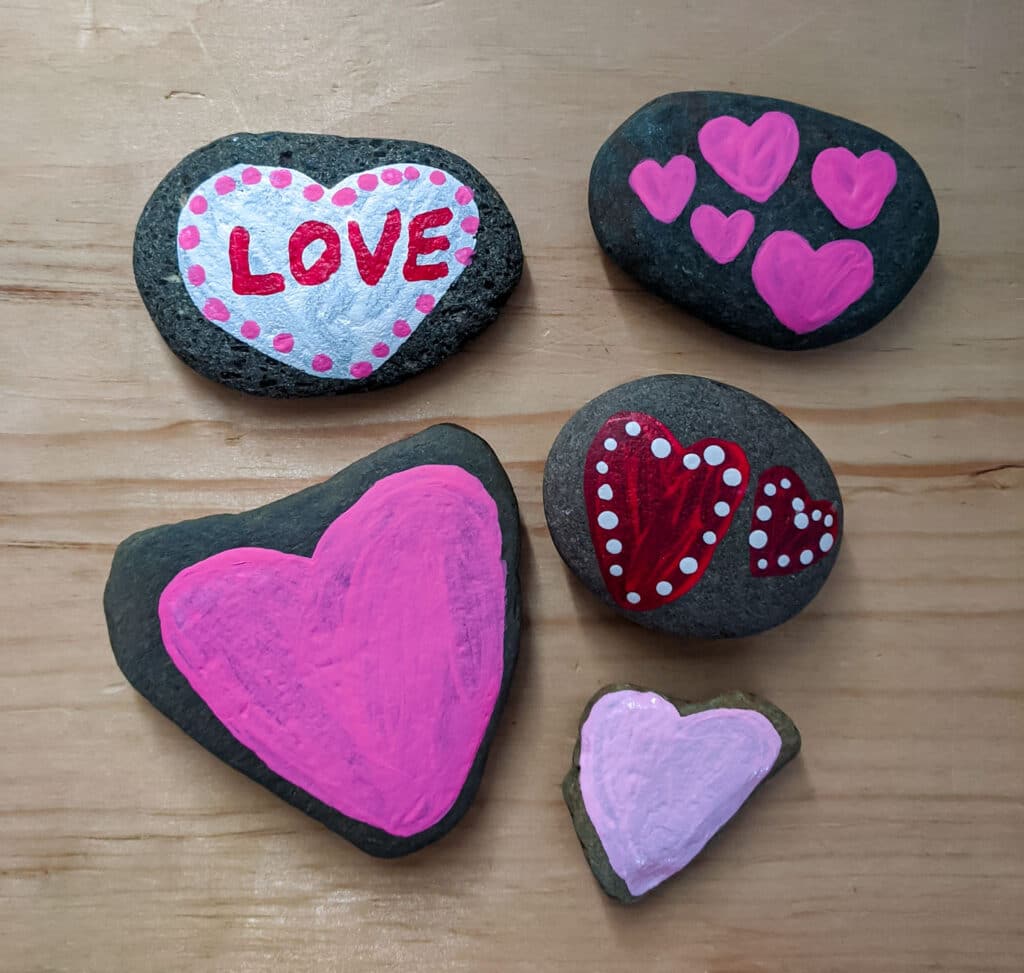
Is there anything sweeter than finding a heart shaped rock? These easy heart painted rocks are a perfect craft for both kids and adults. Learn how to make these painted rocks in this DIY tutorial.

This Post May Contain Affiliate Links. Please Read Our Disclosure Policy.
Growing up, we always made rock crafts. My mother still proudly displays a rock I made when I was very little in her hutch. Adorned with multi-colored plastic gem stones and a blue silk flower.
While I always wondered why she saved it after all of these years. Now that I am a mom myself, I understand why.
Hand-made gifts are the best even if they are made with something as ordinary as a rock found outside in the yard.
Its the thought that counts, especially when making hand-made gifts.

These heart painted rocks are really easy to make. Perfect for a kids craft project or as a fun craft for adults.
Made using with basic supplies including acrylic paint, paint brushes, and of course rocks.
Not only do they make adorable gifts, but decorations and even hands-on learning manipulatives for kids.

Jump to:
Materials
- Rocks: any rock will due including ones found outside or purchased online. Bonus if they are shaped like a heart, but that is not 100% necessary.
- Acrylic Paint: this type of paint will adhere to surfaces including rocks. You can use acrylic paint with any finish including matte or satin.
- Paint Tray: a plastic tray or a paper plate helps keep each color separate. Plus there is room for mixing colors.
- Small Paint Brushes: little paint brushes allow you to add details without getting paint everywhere. I like to have a few small ones available when painting.

- Protective Sealer: if you are planning to place your rocks outside, this is a must. A gloss sealer protects the painted designs from coming off due to the weather.
- Piece of Cardboard: great as a work surface while painting and a place to place your rocks while you seal them outside.
- Q-Tips: optional, but you can these to add dots.
- Toothpicks: also optional, but are great for small details and adding tiny dots. You can also use the opposite end of your paint brush.
- Jar with Water and Rags: for clean up and washing of brushes
- Blow Dryer: optional, but speeds up the drying process
Heart Shaped Designs
There are so many different ways to decorate these rocks. Again, I kept it simple, but you can add as many details as you would like.

Optional Designs
| Dots | Painted Stiches |
| Swirls | Little Hearts |
| Stripes | Words |
If you are making these with your kids, let them get creative. Even very young children in preschool can do this craft alongside you.
When crafting with my toddler, I like to put out a few different paint colors and give him the freedom to come up with his own creation.
Remember, when crafting with little kids, the joy is often in the process. Its okay if they don't make perfectly shaped hearts.
Older children may want to plan out a few designs on paper before diving into the paint. I can see teenagers really enjoying this simple DIY craft project.
I love how even different aged kids can all do this craft project together!
Painting the Rocks
The first step of any rock painting craft is to wash and dry your rocks. Even store bought rocks can have a fine coating or dust on their surface.
To make sure the paint sticks to the rock's surface, you want it to be clean and dry.

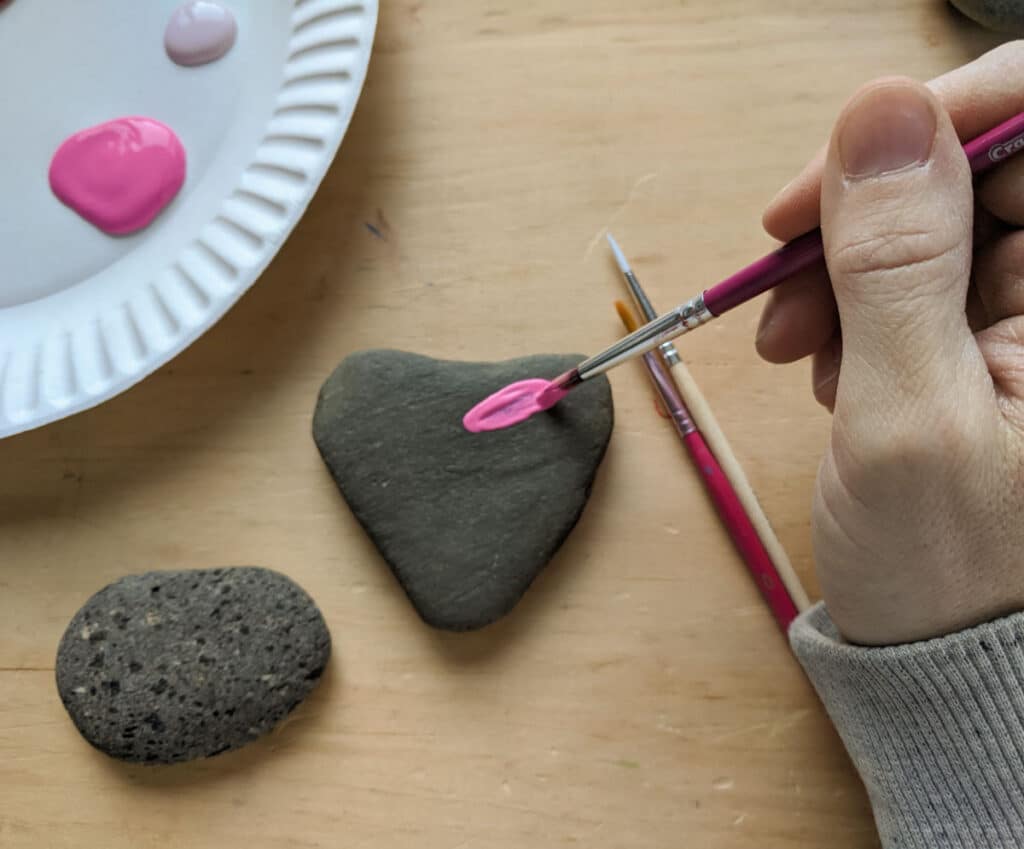
Next, it is time to add your heart shaped designs. If you have a few heart shaped rocks you can use their shape to guide your design.
If not, don't worry you can get creative and make your own painted hearts even on a circular shaped rock.
One heart or many hearts can be added to each rock. Most of mine feature one while one rock has two hearts. One large heart, and one smaller in the corner.

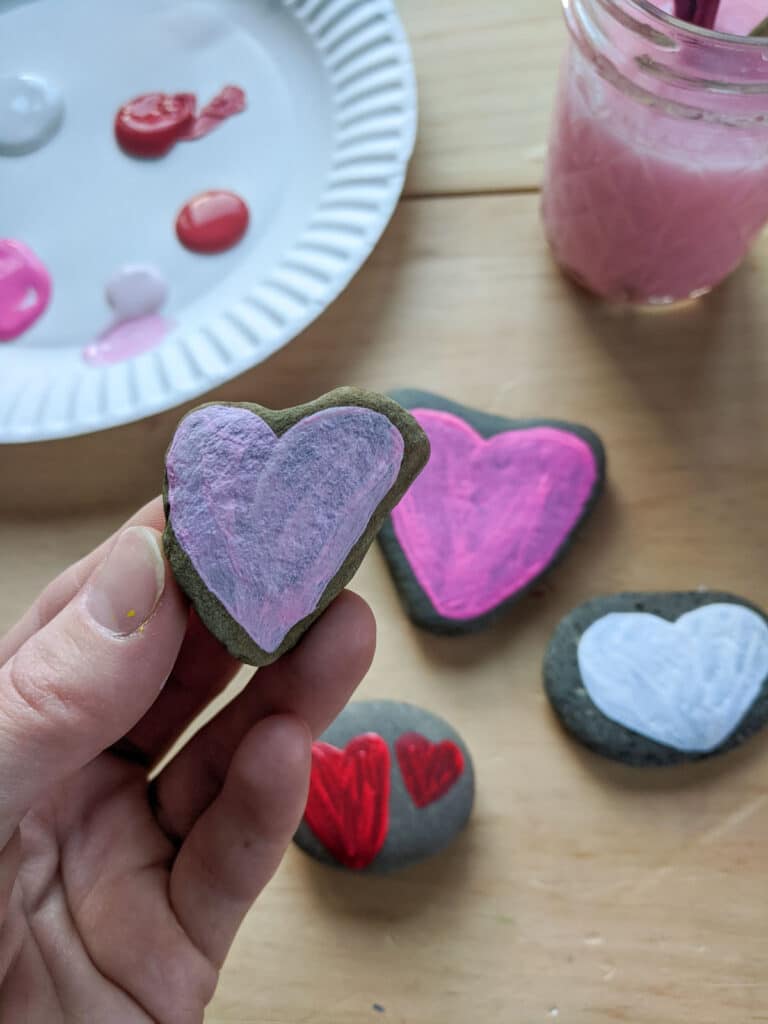
Apply at least one coat of the main color. For some of my rocks, this was the only color I applied.
If you decide to add designs, like the dots, those will be added after you paint the base coat.
Now, you can wait for this first coat to dry completely before adding and designs, but that is not necessary.
Especially if you are doing this craft with kids, they will be excited to paint them all in one sitting instead of waiting around for each step to dry.
Adding Designs
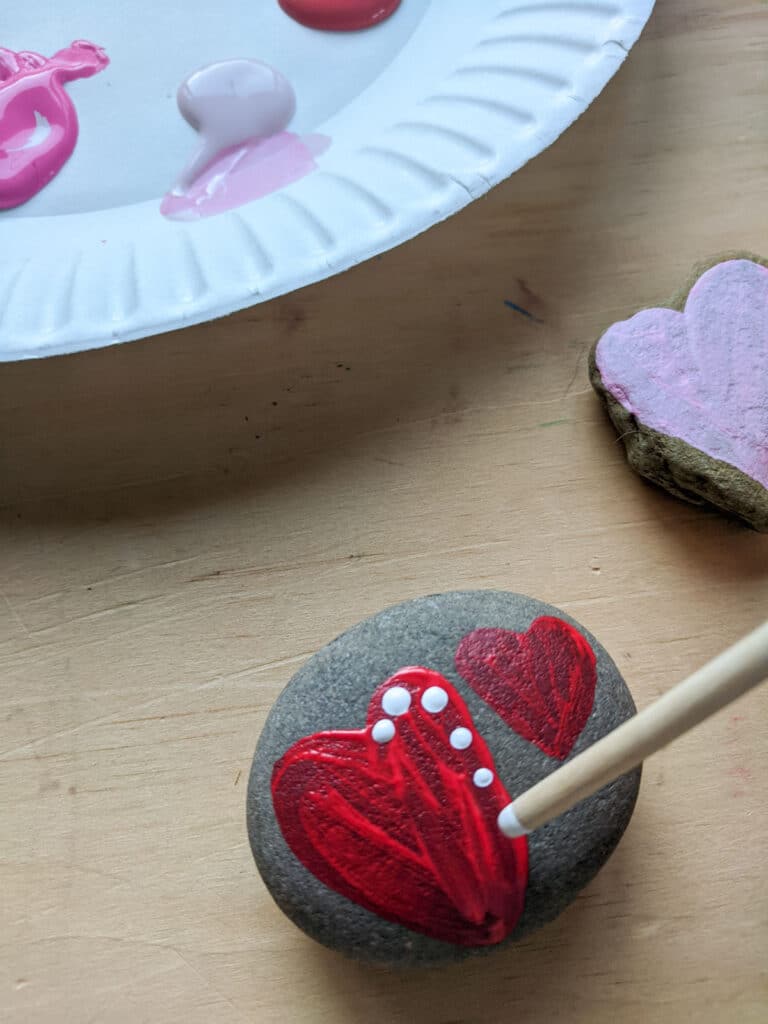
Any easy way to add a few dots is to use the back end of the paint brush. Simply, dip the end of the handle into the paint then tap the paint onto your rock.
I found using the paint brush worked better than a toothpick. I found the toothpick was so small that barely any paint stuck to it.

Now, if you or your children are really into making detailed designs than you may want to have a few toothpick available.
Q-tips are another great option. When making these ladybug painted rocks, q-tips were used to add the beetle's spots.
You can also use a small paint brush. Dashes and lines can be made by dipping a little paint brush into white paint.
Selaing Painted Rocks
This step is optional, but if you are planning on placing your rocks outside, you will want to seal them first.
A gloss sealer designed for outdoor exposure including Krylon or Rust-oleum are great options.
Always follow the directions on the sealer and spray your rocks in a well ventilated area preferably outside. If doing this project with kids, adult supervision is required especially when spraying rocks.

It's currently winter up in New England, so I set up my cardboard with my rocks outside. Sprayed them quickly then brought the cardboard and rocks inside the garage to dry.
To spray your rocks, place them upside down first to apply a coat to the bottom of the rocks. Let that dry completely.
Spray a second coat to the bottom of the rocks.
Next, once dry, flip them over and apply 2-3 coats to the top and sides of the painted rocks. Allow each coat to dry in between applications.
Most sealers require 12 to 24 hours for the product to completely dry before handling them.
Once that time has passed, you can place the rocks outside or keep them indoors.
Uses for Heart Painted Rocks
- Handmade Gifts
These handmade rocks make wonderful gifts.
If you are making them around Valentine's Day, Mother's Day, or Grandparent's Day loved ones would love receiving heart painted rocks.
These realistic rose coloring pages also fun to color during the holidays, or any day!

- Decorations (Indoors and Outside)
We often think of placing painted rocks outside in the garden. However, you can even display them inside your own house during the holidays.
- Math Manipulatives
If you have young children who are learning math, these rocks make great manipulatives.
Plus, kids will already be excited to use them since they made them themselves.
- Kindness Rocks
Spread some cheer by using these as kindness rocks. Pair them with some more designs including rainbows, butterflies and insects for a fun collection.
How are you planning on using these DIY painted heart rocks? Let us know in the comments below!
Easy Heart Painted Rocks

DIY painted rocks with simple heart designs. A great craft project for kids and adults. Perfect as hand-made gifts, decor, and kindness rocks.
Materials
- Rocks
- Acrylic Paint
- Spray Sealer
- Piece of Cardboard
- Jar with Water
- Paper Towel or Rag
Tools
- Small Paint Brushes
- Toothpicks (optional)
- Q-Tips (optional)
- Blow-Dryer (optional)
Instructions
- Wash and dry rocks
- Paint your main heart design
- Add details including dots, stripes, fake stitches, etc using the end of your paint brush, a toothpick, or q-tip.
- Let Dry Completely
- Apply 2-3 coats of protective sealer to bottom of rocks. Allow sealer to dry in between coats.
- Flip over rocks, then apply 2-3 coats of sealer to top of rocks. Letting sealer dry in between coats.
- Let dry for at least 12 hours before handling.
Notes
Adult supervision is required for all steps of this craft project. Acrylic paint can stain surfaces, always protect surfaces and clothing before starting the project.
Different spray sealers will have different dry times, always follow directions on the spray can.
Sealing rocks is optional, but recommended for outdoor use. Always apply a sealer in a well ventilated area, preferably outdoors.


Laura
What a sweet idea! My kids are obsessed with rocks, and this would be a cute DIY gift idea from them for their friends!
Julie
Thank you Laura, rocks are so much fun to use for kids crafts!
Ada
This is such a great idea! It is a beautiful craft that the entire family can enjoy! Thank you for sharing!!
Julie
Thank you Ada! These would be fun for everyone to make
Kanyi's
I can't wait to make these with my little ones!
Julie
That's awesome Kanyi, I hope you and your little ones have fun!
Amanda
Great post!!! We loooove painting rocks! Everyone should give this a try!
Julie
So glad you liked it Amanda. Rock painting is so much fun!